
Table of Contents
Are you ready to take your skincare game to the next level? If so, this blog post is for you. Let’s dive into the world of dermaplaning, a skincare trend that’s taking the beauty world by storm.
Here’s what you can expect from this guide:
- What is dermaplaning? We’ll break down this well-liked skincare technique, describing what it is and why so many people adore it.
- How to Dermaplane at Home: No need for expensive spa appointments We’ll give you a step-by-step guide on how to safely and effectively dermaplane at home.
- Skincare Routines and Products: To get the most out of your dermaplaning experience, we’ll discuss the best skincare routines to follow before and after the treatment, as well as recommend top-notch products that complement the process.
So, if you’re curious about how to dermaplane at home, you’re in the right place.
By the end of this post, you’ll have all the knowledge you need to achieve that fresh, smooth, and glowing skin right in the comfort of your own home. Let’s get started!
How to Dermaplane at Home
Understanding Dermaplaning
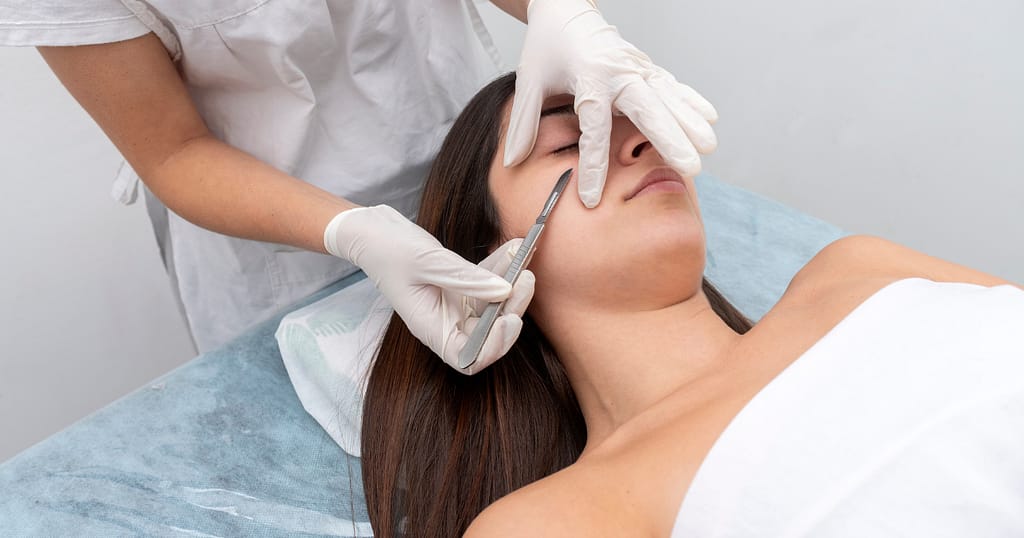
- Dermaplaning is a skincare technique that gently exfoliates the skin using a sterile blade.
- The process removes dead skin cells and peach fuzz, revealing a smoother, brighter complexion.
- It’s a non-invasive treatment that can be done professionally or at home with the right tools and techniques.
Benefits of Dermaplaning
- Smooth Skin: Dermaplaning creates a smoother surface for makeup application by removing the top layer of dead skin cells.
- Brighter Complexion: The removal of dead skin cells and peach fuzz unveils a fresher, brighter layer of skin.
- Enhanced Skincare Efficacy: With the barrier of dead skin and peach fuzz gone, skincare products can penetrate more deeply, boosting their benefits.
- Non-invasive: Unlike some other skincare treatments, dermaplaning is non-invasive and requires no downtime.

Step-by-Step Guide: How to Dermaplane at Home
- Preparing Skin for Dermaplanning: Start your treatment by thoroughly cleansing your face.
- Prep the Blade: Hold your dermaplaning tool at a 45-degree angle to your skin.
- Apply Gentle Strokes: Use short, feathery strokes to scrape the surface of your skin, avoiding the eye area.
- Moisturize: After the treatment, apply a calming moisturizer to soothe your skin.
It’s a simple, effective way to enhance your skin’s health and appearance.
Practice makes perfect; the more you get used to dermaplaning, the better you’ll be at achieving a flawless, glowing complexion.
Preparing Your Skin for Dermaplaning
Before diving into how to dermaplane at home, it’s crucial to prepare your skin properly. Here’s how:
- Cleanse: Start by thoroughly cleansing your face to remove any dirt or makeup. Use a gentle cleanser suitable for your skin type.
CeraVe Hydrating Facial Cleanser is a great option. It’s suitable for all skin types and effectively removes dirt and makeup without stripping the skin’s natural moisture. Click Here to get it at a great price.
- Exfoliate: Next, exfoliate your skin gently to remove any dead skin cells. This helps to create a smooth surface for dermaplaning.
Paula’s Choice Skin Perfecting 2% BHA: Liquid Exfoliant is a gentle yet effective exfoliator that helps remove dead skin cells and unclog pores, preparing your skin perfectly for dermaplaning. Click Here To Get It In a Great Offer You Don’t Want to Miss
- Dry: Pat your skin dry. The blade glides more smoothly over dry skin, making the process easier and more effective.

Detailed Steps on How to Dermaplane at Home
Now that your skin is prepped, let’s move on to the main event: dermaplaning. Follow these steps:
- Hold the Blade Correctly: Hold your dermaplaning tool at a 45-degree angle to your skin. This allows for the most effective removal of dead skin cells and peach fuzz.
- Start Dermaplaning: Using light, short strokes, begin dermaplaning in one area of your face. Avoid sensitive areas like your eyes and lips.
- Continue with care: Continue the process across your entire face, always using light strokes. Take your time—rushing could lead to nicks or cuts.
Post-Dermaplaning Care
After you’ve successfully learned how to dermaplane at home, it’s important to care for your skin post-treatment.
- Soothe: Apply a soothing, hydrating serum or moisturizer to calm your skin and restore moisture.
Based on the search results, some of the top-rated hydrating serums include Paula’s Choice BOOST Hyaluronic Acid Booster with Ceramides for Lightweight Deep Hydration and Vichy Mineral 89 Daily Skin Booster.
Each of these products is formulated to deeply hydrate and soothe the skin, making them ideal for post-dermaplaning care. Choose one that suits your skin type and budget.
- Protect: Your skin might be more sensitive to the sun after dermaplaning, so make sure to apply a broad-spectrum sunscreen before stepping out.
After dermaplaning, your skin can be more sensitive to the sun.
A broad-spectrum sunscreen like La Roche-Posay Anthelios Melt-In Sunscreen Milk SPF 60 can offer high protection against UVA and UVB rays, which is especially important after a dermaplaning session.
Always choose a product that is best suited for your skin type and sensitivity level.

- Wait. Give your skin a break. Wait at least two weeks before your next dermaplaning session to allow your skin to recover fully.
Mastering how to dermaplane at home takes some practice, but with the right preparation, technique, and aftercare, you can achieve salon-like results right in your bathroom.
So why not give it a try? Your radiant, glowing skin will thank you!
To Get Flawless skin, You Need to perform micro-needling, This is the secret formula to getting flawless, beautiful skin; don’t waste time and Click Here
Selecting the Best Dermaplaning Tools for Home Use
If you’re interested in learning how to dermaplane at home, one of the most important decisions you’ll make is choosing the right tool.
We’ll guide you through different types of dermaplaning tools, what features to look for, and the top picks currently on the market.
Different Types of Dermaplaning Tools
Dermaplaning tools come in various shapes and sizes, but they can be broadly classified into two categories:
- Manual Dermaplaning Tools: These are handheld tools with a single, sharp blade. They’re easy to use and control, making them perfect for beginners.
- Electric Dermaplaning Tools: These are battery-powered tools that offer more precision and often come with additional features like different speed settings or built-in lights.

Key Features When Choosing a Dermaplaning Tool
When shopping for a dermaplaning tool, keep these considerations in mind:
- Blade Quality: Look for a tool with a high-quality stainless steel blade that’s sharp enough to remove dead skin and peach fuzz effectively.
- Safety Features: Opt for tools with safety features like blade guards or protective caps to prevent cuts and nicks.
- Ergonomics: Ensure the tool feels comfortable in your hand and offers a good grip for easy maneuvering.
Top 3 Dermaplaning Tools Currently on the Market
- StackedSkincare Dermaplaning Tool: This manual tool features a high-quality blade and an ergonomic handle. It’s also known for its safety guard, which helps prevent accidental cuts
- Michael Todd Beauty Sonicsmooth Sonic Dermaplaning System: This electric tool offers three-speed settings for customized exfoliation. It also comes with a charging dock and a pre-treatment cleanser
- Schick Silk Touch-Up Multipurpose Exfoliating Dermaplaning Tool: A budget-friendly option, this tool is great for beginners. It’s compact, easy to use, and comes with protective caps for safe storage
Learning how to dermaplane at home starts with choosing the right tool. Consider your skill level, budget, and specific needs when making your decision.
Remember, a good tool can make your dermaplaning experience safer and more enjoyable.
Top Skincare Products to Enhance Your At-Home Dermaplaning Routine
Learning how to dermaplane at home is just the first step.
To truly maximize the effects of dermaplaning, you need to pair it with the right skincare products.
In this post, we’ll explain why certain products work well with dermaplaning and share our top picks.

Why Certain Skincare Products Work Well with Dermaplaning
Dermaplaning exfoliates your skin, removing the outer layer of dead skin cells and peach fuzz.
This makes your skin more receptive to skincare products, allowing them to penetrate deeper and work more effectively.
Therefore, using high-quality, targeted skincare products post-dermaplaning can significantly enhance your results.
Top Skincare Products to Use with Dermaplaning
Here are some skincare products that work particularly well with dermaplaning:
- Hydrating Serums: Hydrating serums, like the Hyaluronic Acid 2% + B5 from The Ordinary, can deeply moisturize and soothe your skin after dermaplaning.
Product: The Ordinary’s Hyaluronic Acid 2% + B5
Pros
- Deeply hydrates and soothes the skin.
- Enhances skin’s absorption capacity due to Hyaluronic Acid
Cons:
- It might feel sticky if applied in excess.
How to Use: Apply a few drops to your face post-dermaplaning, avoiding the eye area.
Click Here To Get it at the best Price Ever
Nourishing Oils: Face oils, such as Biossance Squalane + Vitamin C Rose Oil, can provide an extra boost of hydration and leave your skin glowing.
Product: Biossance Squalane + Vitamin C Rose Oil
Pros:
- Provides extra hydration.
- Leaves skin glowing due to Vitamin C.
Cons:
- May not suit oily skin types.
- How to Use: Warm a few drops in your hands and gently press into your skin after applying serum.
Click Here To Get it at the Best Price
Gentle Exfoliants: Gentle exfoliants, like Paula’s Choice Skin Perfecting 2% BHA Liquid Exfoliant, can help maintain the smoothness of your skin between dermaplaning sessions.
Product: Paula’s Choice Skin Perfecting 2% BHA Liquid Exfoliant
Pros:
- It helps maintain skin smoothness between dermaplaning sessions.
- It unclogs pores and improves skin texture due to BHA.
Cons:
- Might cause slight irritation on sensitive skin.
How to Use: Apply with a cotton pad to cleanse skin once or twice a week, avoiding the eye area.
Don’t Waste Time and Get It at a Great Price By Clicking Here
- Broad-Spectrum Sunscreens: Since dermaplaning can make your skin more sensitive to the sun, it’s crucial to protect your skin with a broad-spectrum sunscreen like EltaMD UV Clear Broad-Spectrum SPF 46.
Product: EltaMD UV Clear Broad-Spectrum SPF 46
Pros:
- Protects against UVA and UVB rays.
- It’s good for sensitive skin, and it doesn’t leave a white cast.
Cons:
- Pricey compared to other sunscreens.
How to Use: Apply generously to your face and neck 15 minutes before sun exposure. Reapply every 2 hours or after sweating or swimming.
Don’t Waste Time and Get It at a Great Price By Clicking HERE
By incorporating these skincare products into your routine, you can maximize the benefits of learning how to dermaplane at home, keeping your skin healthy and glowing for longer.
Knowing how to dermaplane at home is just the beginning. To truly maximize the benefits of dermaplaning, incorporate the right skincare products into your routine.
This will not only enhance the results of your dermaplaning session but also keep your skin healthy and glowing in the long run.
For Ultimate results, You Have to Use medical-grade Skin Care Products that will change the game in your skincare routine, Click Here
Natural DIY Skincare Products to Enhance Your At-Home Dermaplaning Routine
If you’re figuring out how to dermaplane at home, it’s essential to pair this procedure with the right skincare products.
Natural DIY skincare products can be just as effective and allow you to customize your skincare routine.

Why use natural DIY skincare products with dermaplaning?
Dermaplaning exfoliates the skin by removing dead skin cells and peach fuzz, which allows skincare products to penetrate deeper for more effective results.
Natural DIY products are free from harsh chemicals, making them a great choice for sensitive skin post-dermaplaning.
Enhancing Your At-Home Dermaplaning with DIY Natural Skincare Products
When you’ve mastered dermaplane at home, the right skincare products can enhance the results.
Here are some simple and effective DIY natural skincare recipes to consider:
1. Honey and Oatmeal Face Mask
Why it Works: Honey moisturizes, and oatmeal soothes the skin—perfect for post-dermaplaning care.
How to Make: Mix 2 tablespoons of raw honey with 1 tablespoon of ground oatmeal.
How to Use: Apply to your face after dermaplaning, leave on for 15 minutes, then rinse off.
2. Coconut Oil Body Scrub
Why it Works: Coconut oil hydrates while sugar exfoliates, helping maintain smooth skin between dermaplaning sessions.
How to Make: Combine half a cup each of coconut oil and sugar.
How to Use: Use as a body scrub 1-2 times a week.

3. Coffee Eye Cream
Why it Works: Coffee reduces under-eye puffiness, making it ideal for rejuvenating your eye area post-dermaplaning.
How to Make: Mix 1 tablespoon of ground coffee with 2 tablespoons of coconut oil.
How to Use: Apply under the eyes and leave on overnight.
4. Aloe Vera and Lemon Toner
Why it Works: Aloe vera hydrates and soothes, and lemon juice brightens. This toner balances your skin’s pH after dermaplaning.
How to Make: Combine 1 cup of aloe vera gel with the juice of half a lemon.
How to Use: Apply to your face with a cotton pad after dermaplaning.

Natural DIY skincare products can greatly enhance your at-home dermaplaning routine, leaving your skin healthy and glowing.
Conclusion: Unveiling the True Power of Dermaplaning at Home
Key Takeaways
- Essentiality of Dermaplaning: It’s more than a skincare fad. It’s a potent method for exfoliating your skin, removing fine lines and peach fuzz, and enhancing skincare product absorption.
- Benefits of At-Home Dermaplaning: With the ability to dermaplane at home, you save on salon expenses, have full control over your skincare routine, and can customize it with the best tools and products tailored to your skin type.
- Our Encouragement: We urge you to delve into this skincare strategy. With the right resources, you can boost your natural radiance from the comfort of your own home.

Engage, learn more, and stay connected!
Let’s Hear From You
- Share Your Experience: Have you tried dermaplaning at home? We encourage comments about your experiences, tips you’ve found useful, or any questions you may have.
- Spread the Knowledge: If you found this blog post helpful, please share it with those who might benefit from learning how to dermaplane at home.
More Skincare Insights
- Explore Our Blog: Check out our other blog posts for more insights into skincare trends and tips.
- Join our community: To stay updated with the latest in skincare, sign up for our newsletter. Get expert advice and news delivered directly to your inbox.
Embrace the journey to healthier, more radiant skin. Start today with dermaplaning at home; your skin will be grateful!